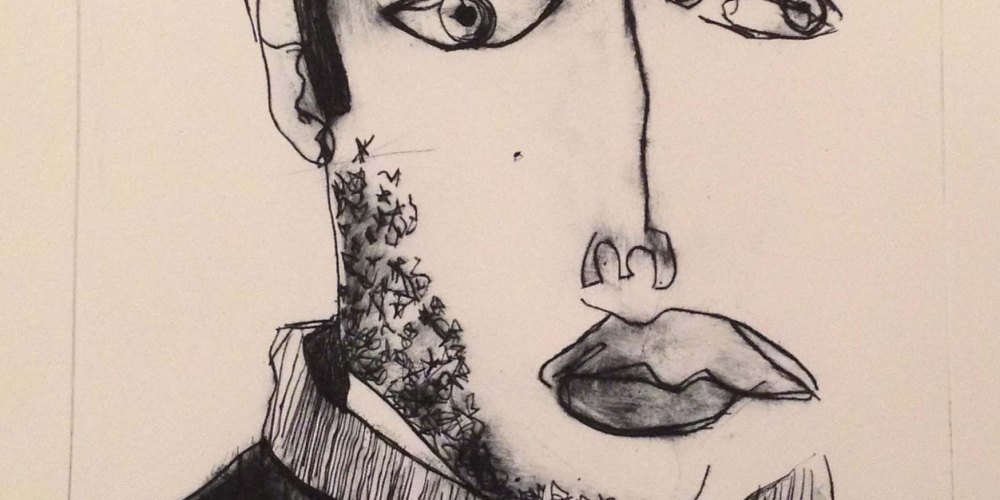


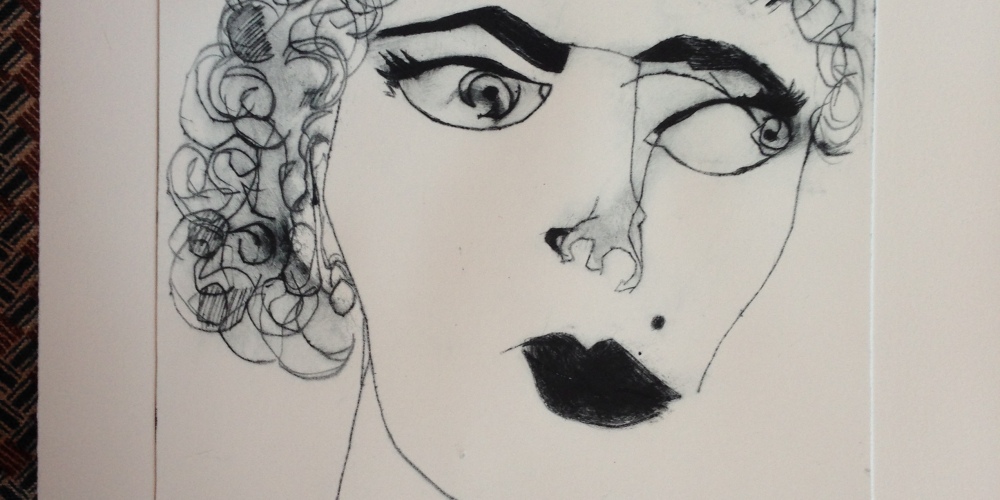
This was my first foray for me into the wonderful world of dry point. There are different permutations to the process but I have worked with plastic and a metal point to scratch into the surface. I like to work on plastic rather than something like copper because then I can work from an image I have already created. The image for this piece was done as a blind contour drawing that I could then manipulate further on the plastic. To create more texture (eg on the shirt) I have used sand paper of varying grades and this manipulates the surface of the plastic to hold the ink.
“wax on, wax off”
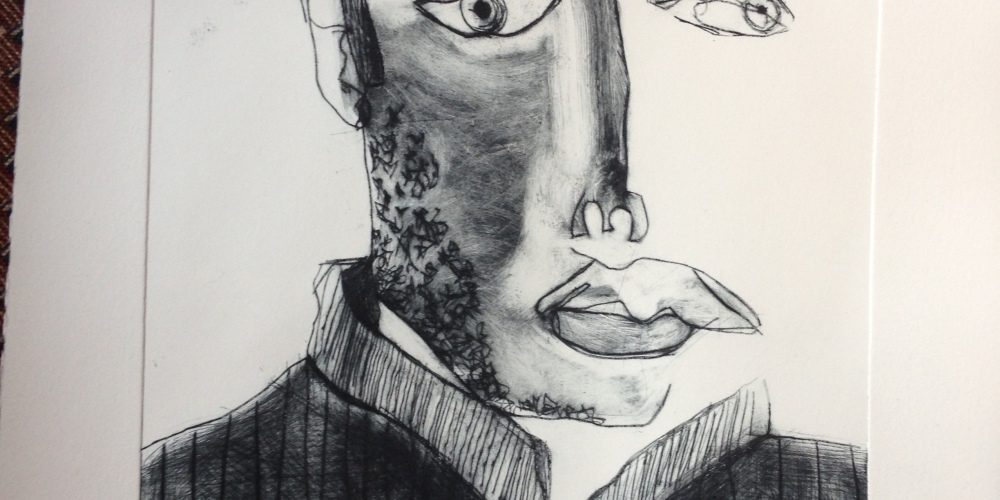
Inking up and printing is quite a long process of scraping the ink onto the surface and making sure it is safely ensconced in the grooves and burrs that you have made. Then you start to rub back using a piece of scrim (basically a lint free cloth). I also found that to get really clean areas its good to use just some normal tissue or toilet roll to polish the surface back up and make sure there is no ink left in areas you want to highlight. I found that overall it is a process that is trial and error and I have included a couple of images of the different versions I have done. I have managed to use the plate up to ten times and then I needed to work back into it again. The pressure of putting the plate through a press flattens out the burrs that hold the ink and these need to be ‘roughed up’ again before you could keep printing with it.
I don’t really like working to get the exact same image again and again so tend to work in series rather than editions. This is a nice example of how one image can be varied just through the process of inking up.

